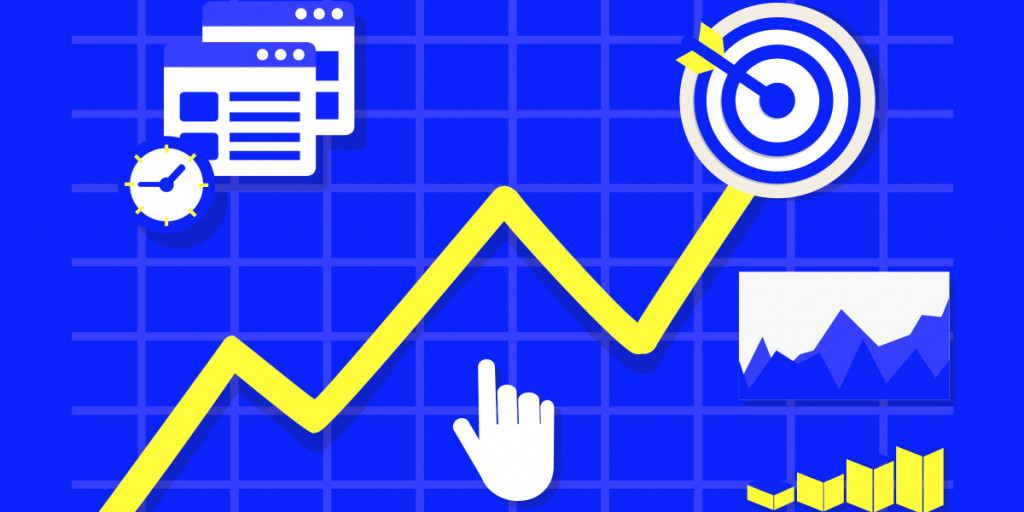
Getting the most out of your media spend requires more than simply managing bid levels or negotiating cost per clicks with suppliers. Mapping and measuring the path to conversion is hugely important if you want to go beyond getting a lot of traffic cheaply.
There are a number of different metrics you can use to judge the quality of your paid traffic. In this scenario it becomes a must to be able to differentiate between your different marketing efforts within your site analytics reports.
Passing through information like channel, site, placement, creative size and creative variant using tracking codes is fairly straightforward. If Google Analytics tracking codes or UTMs have ever been a source of grief for you, jump to the bottom of the page for step-by-step instructions on how to configure them for two industry-leading ad servers: Google Campaign Manager and Facebook Ads Manager.
So what is a tracking code?
A tracking code is a piece of information that is appended to the URL you point traffic towards. This information is captured by a series of URL parameters, which sit after the question mark ‘?’ in the URL structure. When a user arrives on your site and your site analytics records a new session, it will also collect all the information contained in the tracking parameters.
This information is then available in site analytics for you to slice, dice and review at your leisure. Different analytics tools handle tracking codes in their own unique way. Some such as an Adobe CID allow a high degree of customisation while others like Google Analytics UTMs work more uniformly.
What’s the problem with tracking codes?
Deciding what information you want to pass through, and making sure it meets your requirements for insights and transparency, are both vital processes. Most organisations start out with a simple tracking code convention that is implemented manually, channel by channel. Over time though, more variables and parameters are added in, resulting in thousands of URLs to keep on top of instead of the one or two you had before.
Beyond being a headache to manage, both for you and your agency or supplier, human error will inevitably creep in. If your naming conventions aren't followed precisely every time, your site analytics can get clogged up with weeks of junk data until you find and fix the problem. Or even worse, it can break your click-through URLs and leave you paying for traffic that won't ever make it to your site.
We can help you automate your tracking tags to end the hassle of creating and managing tracking codes, then eliminate the possibility of human error. This way, a string on different levels including campaign, site, placement and creative will automatically be generated for each ad click.
Instructions for DoubleClick:
1. Log into the Google Campaign Manager platform
2. Select the Advertiser
3. In the Campaigns Menu, navigate to the desired campaign
 4. Click on the "Properties" button near the top right corner

4. Scroll down and expand the "Landing Page URL Suffix" section

5. Unlock the URL suffix field by clicking on the "Lock" icon

6. Enter the following code into the field labelled "URL suffix"
?utm_source=display&utm_medium=%esid!&utm_term=%epid!&utm_content=%ecid!&utm_campaign=%ebuy!

Where:
%esid! = site ID
%epid! = placement ID
%ecid! = creative ID
%ebuy! = campaign ID
7. Press the blue "Save" button on the top left

Instructions for Facebook Ads:
1. Log into Facebook Business Manager and navigate to Ads Manager.
2. In your Ad Account select the desired campaign from the list by ticking the white box next to it, then click on the “Edit” button in the top menu.

3. Once in the editing window select your Ad and scroll to the bottom where you will find a box titled “Tracking”

4. In the “URL parameters” blank field paste the following code:
utm_source={{site_source_name}}&utm_medium=paidsocial&utm_campaign={{campaign.id}}&utm_content={{ad.id}}&utm_term={{placement}}

Where:
{{site_source_name}} = will indicate the platform in which the ad appeared (Facebook, Instagram or Messenger).
{{campaign.id}} = campaign ID - alternatively you can use {{campaign.name}}
{{ad.id}} = ad ID - alternatively you can use {{ad.name}}
{{placement}} = will indicate where the ad appeared (news feeds, stories, marketplace, reels, etc.)
5. Click on the “Publish” button at the bottom right corner to save your changes.

What happens next?
Every time your display or social ad is clicked on, the ad server will automatically replace the {keys} [brackets] or %value! tokens with a string or numerical value that matches up to your ad server’s IDs or names. These dynamic values will be appended to the URL where the traffic was directed to, associating them to the session and recording them in your analytics platform.
Now, without any effort, you can track paid media down to the most granular level. Better yet, by using anonymous numerical codes, your campaign strategy and media buys won't be obvious to your customers or competitors.
If you need help or would like to learn more about tracking codes, reach out to us at hello@affinity.ad